Sunday, November 14, 2010
Leftover Corner: Spaghetti and Meatballs to Italian Burrito
I don't quite know what got into me this week. I've had a lone tortilla in the refrigerator for a while now, quietly mocking me and my lack of beans, rice, or any other Mexican fare, so that might have something to do with it.
Maybe I felt like channeling my inner child and playing with my food. Maybe I've lost my marbles. You be the judge.
I humbly present, for your approval, the Italian Burrito.
Ingredients:
1 Large Tortilla
Leftover Tomato Sauce
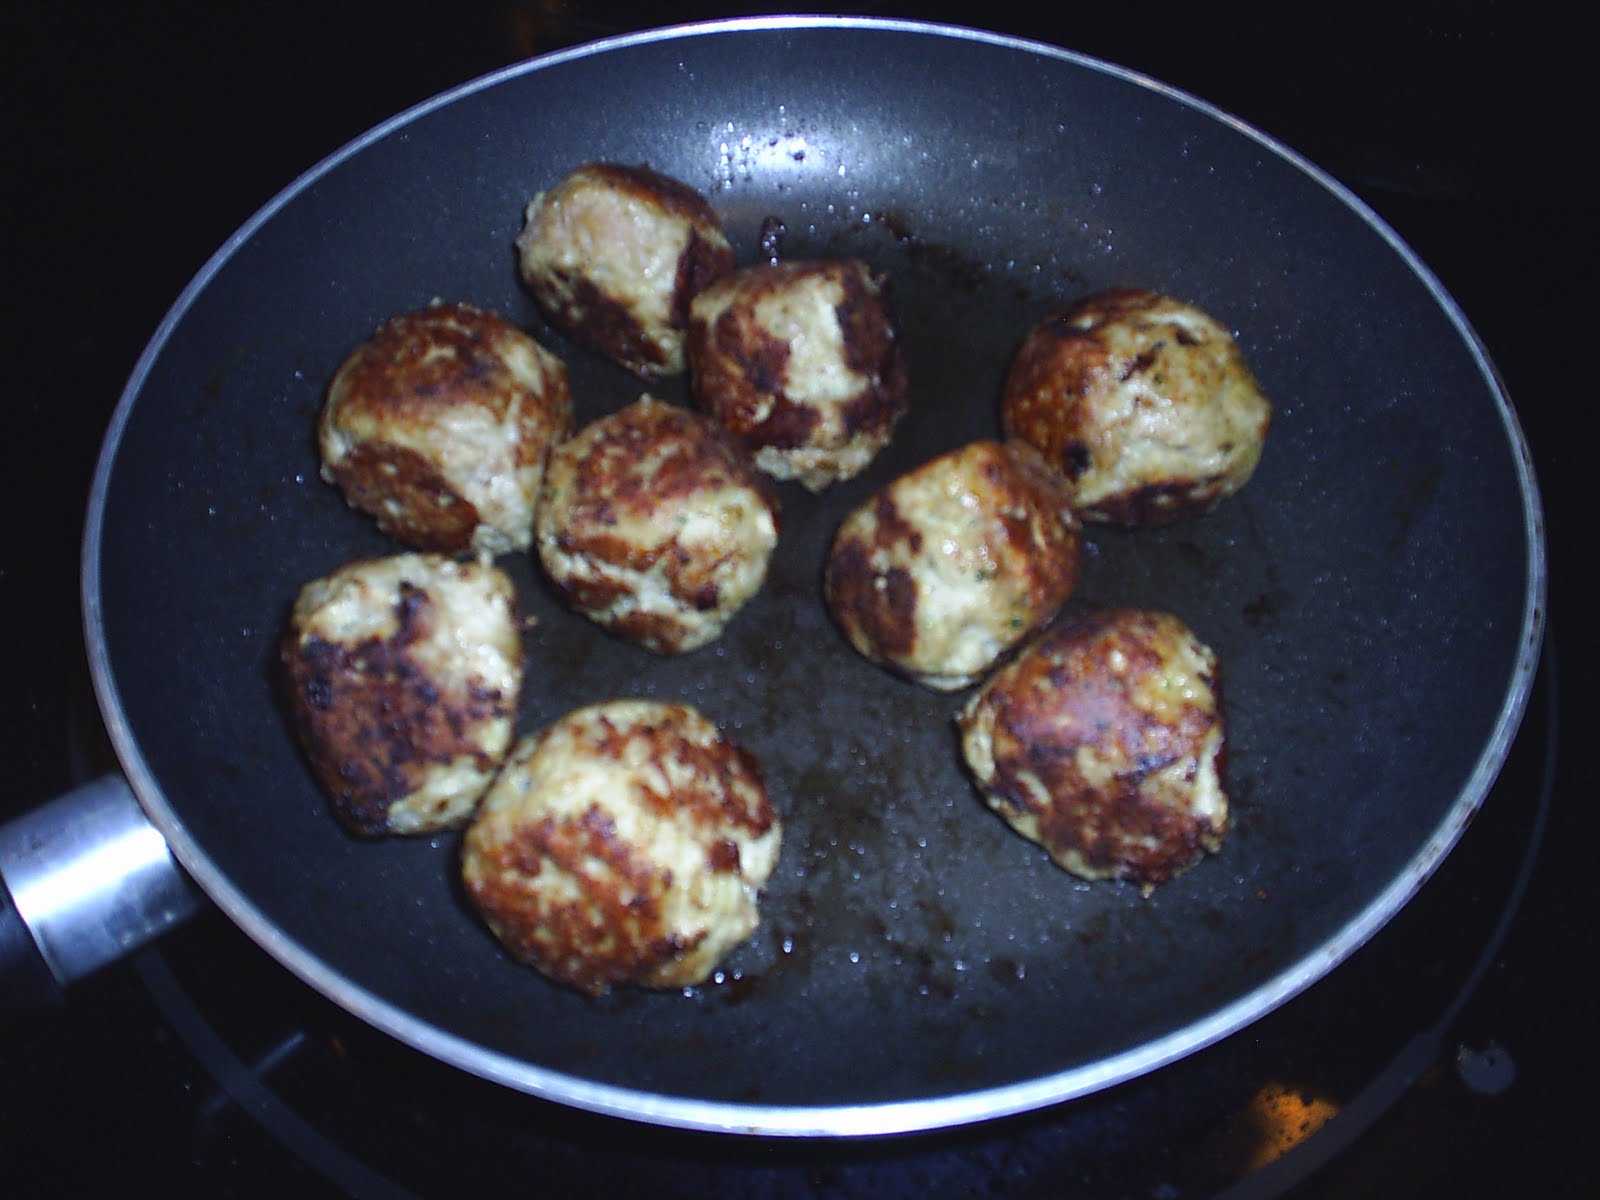
2 Leftover Meat Balls
1 Small Handful of Spaghetti
Shredded Mozzarella Cheese
Steps/Analysis:
First, get a pot of water boiling over High heat. Salt the water and add the spaghetti. Try to remember that cooked pasta always looks like more than when it was stiff and dry. This is going to be crucial when you try to fit it into a tortilla.
As the spaghetti cooks, break out your leftovers! Cut up two meatballs into bite-size pieces and set them aside.
If you have a George Foreman grill, as I do, or a panini press, you'll want to warm it up now. If not, you'll have to experiment with a pan on the stove top as we go along.
Now that I think about it, the oven might work as well, on very low heat.
At any rate, once your pasta is done, drain it as thoroughly as possible and return it to the pot. It's residual heat is going to help dry the pasta as well, which is very important to the integrity of the tortilla.
Add a few spoonfuls of leftover sauce to the pasta and stir to coat.
Get your tortilla out and prepare it with a thin layer of mozzarella cheese. Next, situate the spaghetti in the tortilla's center. Arrange the meatballs on top and spoon on a little more tomato sauce. Sprinkle a little more cheese over everything.
Wrap the tortilla as well as you can. Unfortunately, I cooked a little too much spaghetti and could not tuck in my ends--as you'll see in my pictures. That means I had to be a little more careful in placing it on the Foreman.

Serving/Notes:
Because my wrapping was a little untidy, I attached this beast with a fork and knife at first. Surprisingly, though, as I ate, I found that it was possible to pick the Italian Burrito up and eat it as I had originally intended.
My goodness, the tortilla is a marvelous thing, isn't it?
As far as taste is concerned, this isn't all that different from eating spaghetti and meatballs in the more conventional way. It is, however, a lot more fun, I think. In that respect, this was a worthwhile little experiment.
Thursday, November 4, 2010
Turkey Meatballs
What's the point of having tomato sauce if you don't know how to make meatballs? Seriously. Pasta's nice, but you need a little protein to go with your carbs, don't you?
It's surprisingly easy to make a good meatball. You really only need three ingredients, so there's no reason not to make them. Well, besides the icky feeling of raw meat squishing between your fingers, but to that, I say, "grow up."
Alright? Alright. Let's make some meatballs.
Ingredients:
1 lb of Ground Turkey
2 Eggs
1/2 Cup of Bread Crumbs (Italian Seasoning flavored, preferably)
Olive Oil
Steps/Analysis:
First thing's first: you'll probably want to get a pot of tomato sauce on the stove. If it's my homemade recipe from last week, awesome. If it's store-bought, well, I'll just turn my head while your crack open the jar. Put the sauce on Low heat and let it start to simmer.
Next, you're going to need a really big bowl. Really big. Trust me.
When you've found your massive bowl, dump in the ground turkey. Follow that up with the eggs and bread crumbs.
Now, it's time to get your hands dirty. Get in touch with your inner, mud-pie-making child and mix everything up really well. The more consistent the mixture, the better.
At this point, you should get a pan on the stove and let it warm up over Medium heat. You'll also want a relatively large plate on which to deposit your meatballs.
Gather up a small handful of meat and roll between your palms into a nice, little globe and set it aside on the plate. Repeat this process until you're out of meat. Depending on the size of your balls, you'll probably get 14-18 by the time you're done.
Add a little olive oil to the pan and carefully shift your meatballs from plate to pan. Don't overcrowd the pan. You may need to do this in more than one batch.
Move the meatballs into the simmering sauce and let the pot sit on the stove for about an hour or so. That'll give all the flavors a chance to meld and mellow and let the meatballs finish cooking, on the off chance that they're a little underdone.
Serving/Notes:
I was really pleased with this first attempt at meatballs. They were firm and flavorful and starting them off in the pan gives them a little crunch that they wouldn't have otherwise.
Monday, November 1, 2010
Tomato Sauce v2.0
Those of you who read about my "Rustic Tomato Sauce" some time ago will remember that it quickly became an exercise in improvisation. I didn't really give myself enough time to properly simmer and misjudged my ingredient list. That's not to say that I was disappointed with the result, though; it's just not quite what I had in mind when I set out to make a sauce.
Thankfully, I just don't know when to quit. This week, I present my new and improved Tomato Sauce, version 2.0!
Ingredients:
2 28-oz Cans of Crushed Tomatoes
1 12-oz Can of Tomato Paste
1 Onion
1 Bell Pepper
Oregano
Red Pepper Flakes
Olive Oil
Steps/Analysis:
You should know ahead of time that Tomato Sauce v2.0 is not a quick recipe. Ideally, you should set aside 3-4 hours in order to cook everything low and slow and really marry the flavors. It might be best to tackle this on a weekend.
Don't fret, though, this is an easy recipe that will require minimal attention once you get things going. Stay with me!
First, set a large pot over Medium-High heat and dice the onion and bell pepper. Just like the beginning of my last tomato sauce recipe, you're going to saute the crap out of these in enough olive oil to coat the bottom of the pot.
At this point, you should also add the red pepper flakes. I did not use an exact measurement for this step. I like a lot of heat, so I threw in a lot of flakes. Use your best judgment.
Once your vegetables have broken down to the point where they are translucent, turn down the heat to Low or Medium-Low. Open up both cans of crushed tomatoes and the tomato paste and add everything to the pot.
Carefully.
Tomato sauce tends to splash, so don't wear white.
You should also add the oregano now. Again, I did not use a precise measurement. I just added oregano until it looked like "enough." Scientific, I know.
Stir up the pot in order to incorporate everything. Cover with a lid and allow to simmer for about 3 hours, or until dinner time.
Check on the pot every once in a while to make sure it's not bubbling over, but, otherwise, that's it!
Serving/Notes:
This iteration of my tomato sauce has a lot more of the saucy qualities I was looking for: a rich, almost sweet flavor and a smoother consistency that sticks more easily to pasta. I'm very happy with the result.
Other than that? Come on, people. There's nothing too mysterious about tomato sauce. Serve it over your pasta of choice and... hey! What are those meaty... ball-looking... things in the picture? Could there be a meatball recipe posted in the near future?!
Monday, October 18, 2010
Pesto Chicken Pizza
After last week's dinner, I had lots of pesto and chicken left over. As fate would have it, there was also an extra pizza crust in my fridge, just waiting to fulfill its destiny as a conveyance of deliciousness.
Thus was born the Pesto Chicken Pizza.
Ingredients:
1 Pizza Crust
2 Cooked Chicken Breasts
Jarred Pesto
Grape or Cherry Tomatoes
Shredded Cheese
Steps/Analysis:
Preheat the oven to 415 degrees and lay the pizza crust out on a baking sheet. Then, spoon on a thin layer of pesto.
(Again, I'm using chicken breasts that I had already cooked and prepared for the week. If you haven't planned accordingly, residence in a 375 degree oven for about 35 minutes will get you where you need to be.)
Cut the chicken into roughly bite-size pieces and distribute them evenly over the pizza. Cut your tomatoes in half (or into smaller pieces if necessary) and repeat.
The final step is to brush a little olive oil around the outer crust so that it crisps up nicely in the oven.
10-15 minutes and you've got yourself dinner!
Serving/Notes:
You may want a little salt and pepper, but otherwise I was very happy with this creation. I've got a pretty solid repertoire of pizzas, if I do say so myself, and this is a nice addition to it.
The use of Mexican rather than Italian cheese seemed negligible. The substitution certainly didn't ruin my evening.
Posted by Ross L at 8:12 PM 0 comments Permalink
Labels: cheese, chicken, Italian, pesto, pizza, pizza chronicles, tomato
Monday, October 11, 2010
Chicken Pesto Supreme
I realize that a lot of my posts so far this fall have been a little too 'Freshman' and not 'Graduate' enough in complexity or class. Salami's great and all, but it really shouldn't be the focal point of one's diet.
Ingredients:
2 Cooked Chicken Breasts
Frozen Cheese Ravioli
Frozen Peas
Cherry or Grape Tomatoes
Jarred Pesto
I cooked my chicken breasts in advance--I like to bake a bunch of them at a time and keep them on hand for meals throughout the week. If you haven't, though, no big deal. Trim their fat and salt and pepper them generously. Place them in an oiled baking dish and get them in a 375 degree oven for about 35 minutes.
With your chicken taken care of, set a pot of water over high heat and get it to boiling. When it's there, salt the water and carefully pour in enough ravioli for two people.
Keep an eye on that pasta! Depending on the brand you buy, it should only take about 5 minutes to cook through.
In the meantime, get the frozen peas in a large bowl with just a little water and microwave for 2 minutes or so. Halfway through, you'll want to give the peas a stir.
Drain off the water from the greens when done.
Drain the ravioli and give your chicken breasts a rough slicing. Add them to the bowl as well.
Serving/Notes:
A little salt and pepper are all that you need to accompany this meal... maybe a hank of bread, but not much else. Make sure you get a little of everything on your plate. The flavors and textures all play nicely with one another and the more variety you get on your fork, the happier you'll be. Enjoy, this classy, date-night dinner.
Monday, September 20, 2010
Salami and Mixed Vegetable Omelette
I know what you're probably thinking. Salami and mixed vegetables? In an omelette? That can't possibly be any good. The B.A. Gourmet has finally lost his mind. I won't be reading any more of his inane ramblings and warning my friends and family against him from now on!
Come on, now. That's a little harsh isn't it? Remember the good times: Mexican Pizza, Shepherd's Pie, Nutella Pancakes. Don't you think you should give me the benefit of the doubt just this once?
It's a good omelette, I promise. In fact, it's one of the tastier omelette's I've made in recent memory. Give it a shot, Sam-I-Am.
Ingredients:
3 Eggs
2-3 Slices of Salami
1/2 Cup of Frozen Mixed Vegetables
Shredded Cheese
1/2 Onion
Olive Oil
Steps/Analysis:
First thing's first: dice your onion and start sauteing in a little olive oil over Medium heat. While that's going, give your salami the same treatment. Your aim is to soften the onions a bit and brown the salami just a little.Next, turn your attention to your frozen veggies. A mix of green beans, carrots, corn, and peas works well, but use whatever floats your boat. Whatever you choose, pour it into a bowl with a little water and microwave for about a minute to take the chill off of them.
At this point, you should crack your eggs and scramble them. Add a little milk if you like and some salt and pepper.
When the contents of your pan are sauteed to your liking, reduce the heat of the stove top to Medium-Low and slowly pour the eggs over the whole lot.
I heard that sharp intake of breath from all you avid breakfasters out there. No butter in the pan? Won't that stick like cement?
Fear not! There's should still be a little olive oil in the pan, plus whatever juices have escaped from the salami in the meantime. I guarantee the omelette will slide out
without any problems.
Try to fuss with the eggs as little as possible. As you notice the edges firming up, you should lift them with a spatula and tilt the pan to give the raw egg in the center some contact with the metal.
When the egg is almost completely cooked, give it a little jiggle to loosen it from the pan and sprinkle some cheese over the half furthest from the handle. Position the pan over your waiting plate and ease the omelette out, gently folding it in half as you do so.
Serving/Notes:
This omelette is salty, savory, and substantial. The salami starts off your day with a hit of protein and the veggies make for a hearty, stomach filling experience.
A little salt and pepper is good and, as you can see from my pictures, my bottle of hot sauce is always at hand.
Posted by Ross L at 3:13 PM 0 comments Permalink
Labels: breakfast, eggs, omelette, salami, vegetables
Monday, September 13, 2010
Yogurt Parfaits
Looking for an easy dessert to impress your significant other? How about a sweet, nutritious breakfast to start your day off on the right foot?
Perhaps you need one recipe that can solve both dilemmas. Impossible, you say? Bah! The B.A. Gourmet doesn't know the meaning of the word. Behold! The Yogurt Parfait!
Ingredients:
1 Single-Serving Container of Yogurt
1/2 of a Banana
2-4 Strawberries
1 Granola Bar
Steps/Analysis:
Since I was serving two people, I doubled up on this recipe, selecting Strawberry and Pina Colada flavored yogurt. You can pick just about any variety you like, but try to keep it simple since you'll be adding other sweet and chunky elements.
Pour approximately one third of the yogurt container into a small bowl or coffee mug. Slice the banana into small pieces and layer on top of the yogurt foundation.
Before unwrapping the granola bar, bash it a few times against the counter top. Don't be afraid to let out all of your aggression from the day. Take a hammer to the bar, if you like. The idea is to create small crumbs. You could also just buy loose granola to accomplish the same thing, but that's hardly as much fun.
Pour half of the granola crumbs over the strawberries and cover that up with the last of the yogurt.
Give the top a dusting of granola particles and enjoy the fruits of your labor (cue rim shot).
Serving/Notes:
If you follow these instructions, you're good to go as is. Of course, I imagine there are all kinds of interesting and delectable variations. Off the top of my head, I can picture chocolate chips, raspberries, blueberries, jam, graham crackers, chocolate syrup. Just make sure that your additions make sense with the flavor of yogurt you've purchased.
Subscribe to:
Posts (Atom)